

Artists mentioned in Project 1: Paul Gauguin Tracey Emin Sam Taylor-Wood William Eggleston Richard Wentworth Elliot Wilcox Sarah Pickering Sarah
Read MoreArtists mentioned in Project 1: Paul Gauguin Tracey Emin Sam Taylor-Wood William Eggleston Richard Wentworth Elliot Wilcox Sarah Pickering Sarah
Read More
Exercise 1: Still Life● Create a set of still-life pictures showing traces of life without using people. You could do
Read More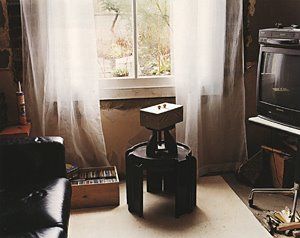
Reading Task: Something and Nothing Read Chapter 4, ‘Something and Nothing’ in Cotton, C. (2014) The Photograph as Contemporary Art
Read More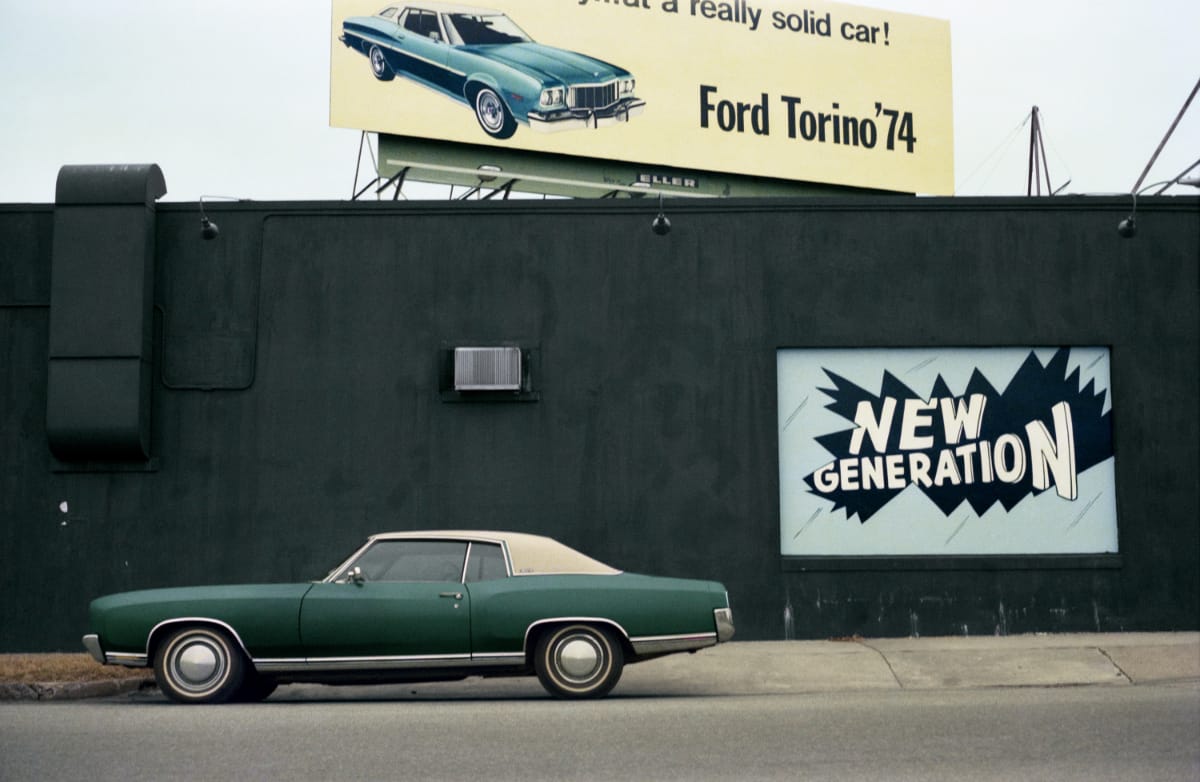
Research Task – Personal Reflection ● Where does that leave the photographer? As storyteller or history writer?● Do you tend
Read More