5.3 – Behind the Gare Saint-Lazare (place holder)

Exercise 5.3
Look again at Henri Cartier-Bresson’s photograph Behind the Gare Saint-Lazare in
Part Three. (If you can get to the Victoria & Albert Museum in London you can see
an original print on permanent display in the Photography Gallery.) Is there a single
element in the image that you could say is the pivotal ‘point’ to which the eye returns
again and again? What information does this ‘point’ contain?
Include a short response to Behind the Gare Saint-Lazare in your learning log. You can
be as imaginative as you like. In order to contextualise your discussion you might
want to include one or two of your own shots, and you may wish to refer to Rinko
Kawauchi’s photograph mentioned above or the Theatres series by Hiroshi Sugimoto
discussed in Part Three. Write about 150–300 words. 

The element of Cartier-Bresson’s photograph Behind the Gare Saint-Lazare to which I continually return is the white space between the man’s legs and his reflection as he jumps.  It is the brightest part of the picture and looks a bit like an arrow pointing in the direction the man is jumping. It is image that is presented as one HC-Bs most iconic images.


2.7 – The distorting lens

Use a combination of small apertures and wide lens to take a number of photographs
exploring deep depth of field. Because of the small apertures you’ll be working with
slow shutter speeds and may need to use a tripod or rest the camera on a stable
surface to prevent ‘camera shake’ at low ISOs. Add one or two unedited sequences,
together with relevant shooting data and an indication of your selects, to your
learning log.

Achieving deep depth of field might appear easy compared to the difficulties of
managing shallow depth of field. We’re surrounded by images made with devices
rather than cameras whose short focal lengths and small sensors make it hard
to achieve anything other than deep depth of field. The trick is to include close
foreground elements in focus for an effective deep depth of field image. Foreground
detail also helps to balance the frame, which can easily appear empty in wide shots,
especially in the lower half. When successful, a close viewpoint together with the
dynamic perspective of a wide-angle lens gives the viewer the feeling that they’re
almost inside the scene.

all images taken using Aperture Priority – ISO 200, 24 mm, f/22 (the highest my lens would go) and 1/4 sec. Taken  using a tripod

_DJF2688_DJF2694-Edit_DJF2728-Edit_DJF2734

These do give a better feel of being there in the landscape

2.5 – The distorting lens

Exercise 2.5
Find a subject in front of a background with depth. Take a close viewpoint and zoom
in; you’ll need to be aware of the minimum focusing distance of your lens. Focus on
the subject and take a single shot. Then, without changing the focal length, set the
focus to infinity and take a second shot.

_DJF2700

Shallow Depth of Field, Close viewpoint

_DJF2699

deep depth of field, long focal point

wasn’t sure I got it quite right out in the field, so tried it again at home, although I think both sets demonstrate the point about close viewpoints and focal point


2.3 – The distorting lens

Exercise 2.3:

Choose a subject in front of a background with depth.  Select your shortest focal length and take a close low viewpoint, below your subject.  Find a natural point of focus and take the shot.

I chose to display this image in black and white, because it emphasises the distortion.

The model is only 9″ tall, but looks much bigger in relation to its surrounds because of the low viewpoint.  The background also appears to be falling backwards, even though it’s perfectly vertical wall.

Finally the bottom of the model (closest part to the viewpoint) looks out of proportion with the rest of the model.

This answers my question of Exercise 2.2, in relation to my height.  I will need to be aware of that when taking photos, especially portraits as using this angle might distort someones features.

Traditionally, this focal point might be used for a man, in order to make him look taller and more powerful in the frame!

Exercise 1.3 (1) & (2) Line

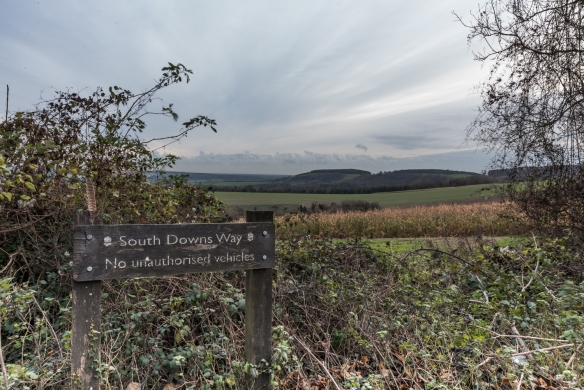
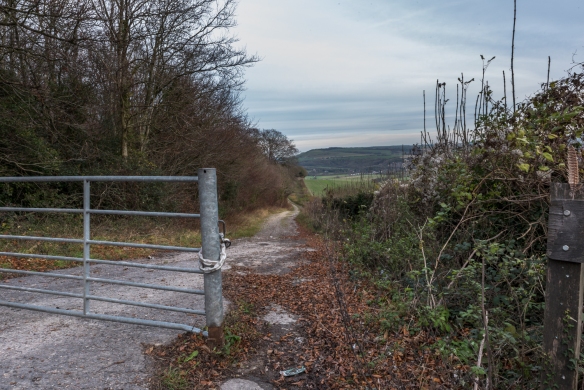
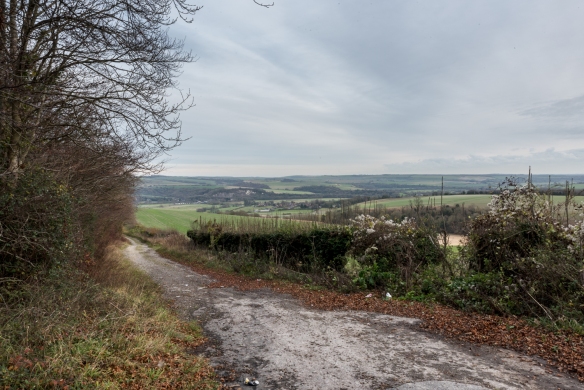
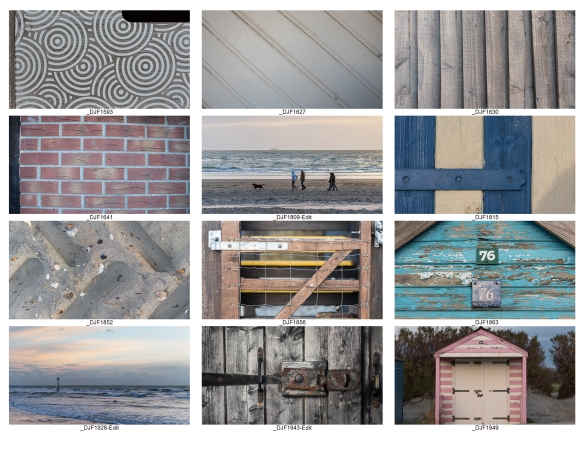
Exercise 1.3 (1) Line
Take a number of shots using lines to create a sense of depth. Shooting with a wide-
angle lens (zooming out) strengthens a diagonal line by giving it more length within
the frame. The effect is dramatically accentuated if you choose a viewpoint close to
the line.

Exercise 1.3.1-cropped
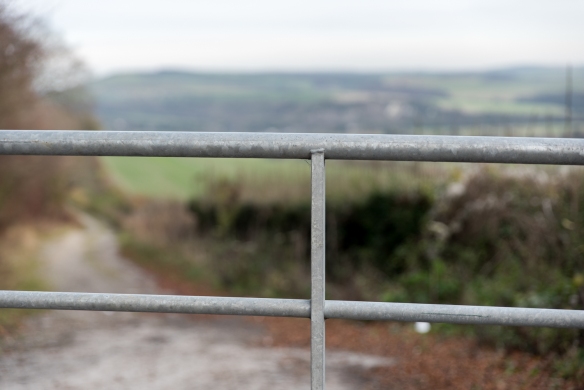
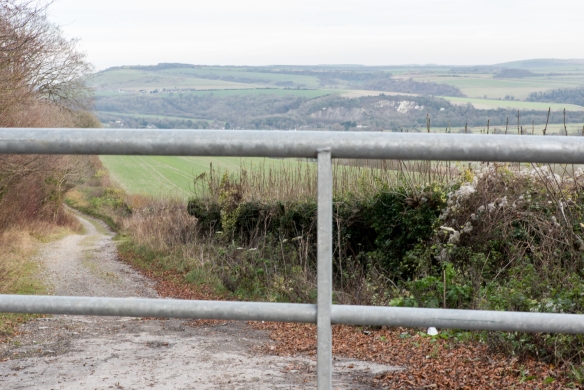
Exercise 1.3 (2) Line
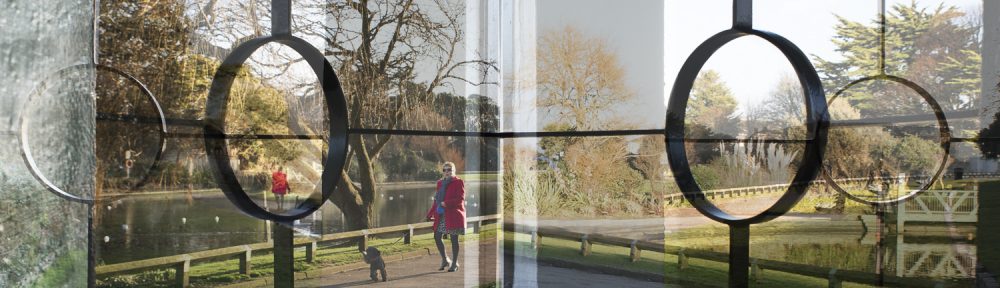
Take a number of shots using lines to flatten the pictorial space. To avoid the effects
of perspective, the sensor/film plane should be parallel to the subject and you may
like to try a high viewpoint (i.e. looking down). Modern architecture offers strong
lines and dynamic diagonals, and zooming in can help to create simpler, more
abstract compositions.

Exercise 1.3.2-croppedReview your shots from both parts of Exercise 1.3. How do the different lines relate
to the frame? There’s an important difference from the point exercises: a line can
leave the frame. For perpendicular lines this doesn’t seem to disrupt the composition
too much, but for perspective lines the eye travels quickly along the diagonal and
straight out of the picture. It feels uncomfortable because the eye seems to have no
way back into the picture except the point that it started from. So for photographs
containing strong perspective lines or ‘leading lines’, it’s important that they lead
somewhere within the frame.


Exercise Review:

There is definitely a different feel to both sets of photographs. In exercise 1.3 (1), I tried placing the leading lines in different parts of the frame and I noticed that in most of them, I have left space around the line which emphasizes it, whereas, in exercise 1.3 (2) many the lines are terminated at the edges of the photograph.  The flat views are great for detail shots or strong regular shapes.

The hypothesis above states that ” So for photographs containing strong perspective lines or ‘leading lines’, it’s important that they lead somewhere within the frame”

To test this I took a photo where there appeared to be a definite ‘thing’ at the end of the ‘lead line’ namely two traffic cones.  In the second photograph I took them out of the picture, to see if it did indeed affect the viewers comfort.  Personally, I didn’t think it made much difference, but this may be because the line extends almost to the other side of the frame anyway.

_DJF1817_DJF1817a

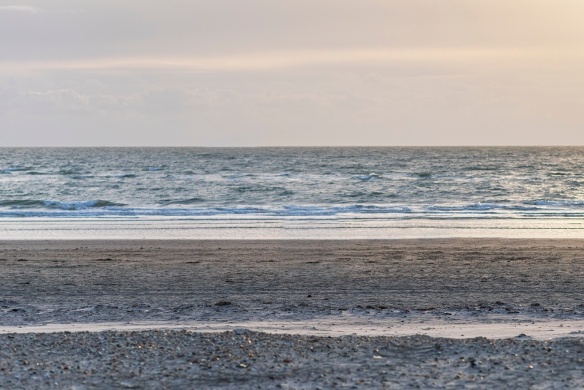
Although the photo below was taken with flat lines in mind, those being the different horizons between land, sea and sky, the addition of the people and boat, give it perspective which create an invisible line.  So for the image to have worked as a flat photo, I would have to taken it without either of those elements in it.

_DJF1809-Edit-Edit

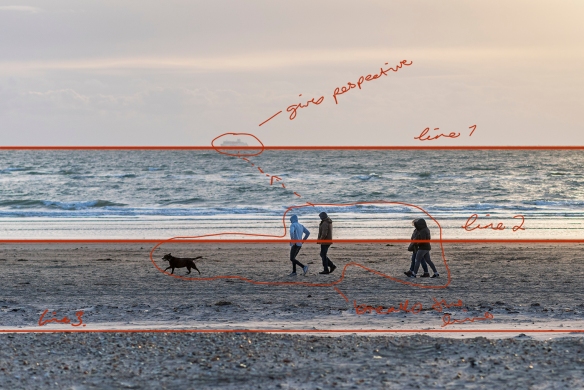
Here the people and ship have been removed to show how the flat image would look.

_DJF1809-Edit-Edit1